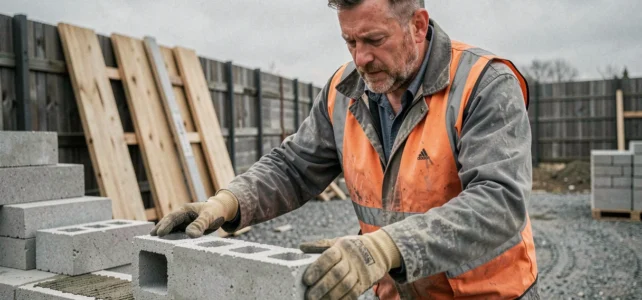
The block for pouring works like a permanent formwork: the hollow blocks are stacked dry, vertical and horizontal reinforcements are inserted, and then concrete is poured inside. The principle seems simple, but the success of the wall depends almost entirely on what happens before laying the first row, especially when the ground is neither flat, nor stable, nor drained.
Wet or backfilled ground: how the soil under the block wall changes everything
Most guides describe installation on soil considered to be load-bearing. On wet, sloping, or partially backfilled land, the stresses are different and affect the entire course of the project.
A recent fill has not completed its settling. Laying foundations directly on it exposes the wall to differential deformations that crack the concrete poured into the blocks. It is then necessary to lower the foundation footing to the natural ground, sometimes to a depth significantly greater than what is planned on stable soil.
On waterlogged ground, peripheral drainage precedes any masonry. An agricultural drain placed at the bottom of the excavation, connected to an outlet, prevents hydrostatic pressure from pushing against the retaining wall once the backfill is in place on the land side. Without this drainage, stagnant water also degrades the reinforcements over the long term.
The question of slope adds an additional parameter: the inclination on the land side, sometimes called the “batter” of the wall. This slight tilt of the back face towards the slope helps better resist the pressure from the soil. On flat ground, it can be omitted for a low wall. On sloped terrain, the angle of soil pressure resistance is crucial to limit tipping.
The installation of a block wall for pouring on this type of terrain therefore requires a prior soil study, even a brief one, to adapt the depth of the foundations and the sizing of the reinforcements.
Reinforcement and formwork of the first row: the technique that determines the entire wall
The first row of blocks for pouring concentrates the majority of errors. An alignment or level defect at the base affects every subsequent row, and the poured concrete permanently fixes the problem.
Preparing the foundation footing
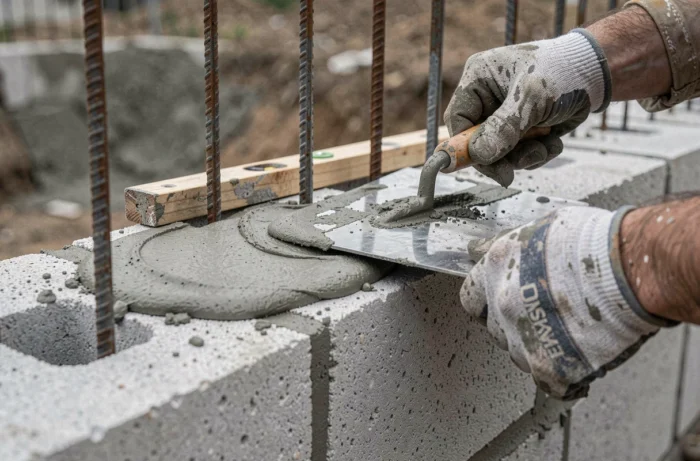
The vertical reinforcements (rebar) must be anchored in the foundation footing before laying the blocks. Their spacing depends on the role of the wall: a retaining wall requires denser reinforcement than a simple fence. The rebar extends from the footing to a sufficient height to cross several rows.
The first row is laid on a bed of mortar, not dry. This layer of mortar allows for correcting the irregularities of the footing and precisely leveling each block. A string line stretched between two stakes guides the alignment. A spirit level checks each block individually.
Checking plumb block by block
- Check the horizontal level of the block with a spirit level placed on the length and width.
- Check the vertical plumb with a plumb line or level, especially on corner blocks.
- Use shims (plastic or wood) to adjust the height before the mortar sets, then remove them once the leveling is stabilized.
The following rows are stacked dry, crossing the joints from one row to another. The horizontal reinforcements are placed in the cavities between each row or every two rows according to the reinforcement calculation. The crossing of vertical joints prevents the creation of break lines in the finished wall.
Poured concrete in the blocks for pouring: height and vibration
The filling of the blocks is not done all at once over the entire height of the wall. Pouring too high at once generates pressure that can deform or displace the upper rows that are not yet stabilized.
The concrete is poured in passes of three to four rows maximum. Between each pass, allow the concrete to start setting before continuing. The concrete used must be fluid enough to fill all the cavities without leaving air pockets, but not too liquid so that it does not flow between the blocks.
Vibration is a step that many guides mention without emphasizing its real function. A needle vibrator plunged into the cavities expels trapped air bubbles and ensures that the concrete properly encases the reinforcements. Without vibration, voids remain around the rebar and reduce the mechanical strength of the wall.
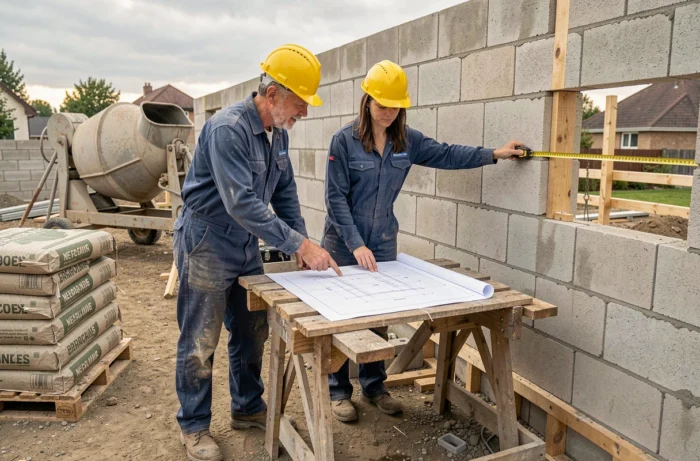
The leveling of the last row also deserves attention. The top of the wall must be perfectly flat to receive a chain, a cap, or a coping. Excess concrete is removed with a trowel before hardening. A deficiency is difficult to correct afterward.
Retaining wall in block for pouring: the mistakes that weaken the structure
Three common defects appear regularly on construction sites, even among experienced masons.
- Neglecting weep holes: these small through holes in the wall allow accumulated water behind the retaining wall to drain. Without them, hydrostatic pressure increases until it cracks or tips the wall.
- Undersizing foundations on soft ground: a footing that is too narrow or not deep enough does not stabilize the wall against soil pressure, especially after heavy rains.
- Filling the blocks with too dry concrete: the cavities remain partially empty, the reinforcement does not work properly, and the wall loses a significant part of its load-bearing capacity.
Field feedback varies on the necessity of a geotextile between the backfill and the wall. Some professionals systematically install it to prevent soil fines from clogging the drain. Others believe that good drainage gravel is sufficient. The choice depends on the nature of the soil and the grain size of the backfill.
A well-executed block for pouring wall can withstand decades of use, including as a retaining wall. The condition, often minimized, relies less on the implementation of the blocks themselves than on everything that surrounds them: foundations adapted to the actual terrain, effective drainage, correctly sized reinforcement, and vibrated concrete without air pockets.